Minolta XG-M User Manual: A Comprehensive Guide
This comprehensive guide details the Minolta XG-M, offering historical context, operational instructions, and troubleshooting advice for optimal use of this classic camera.
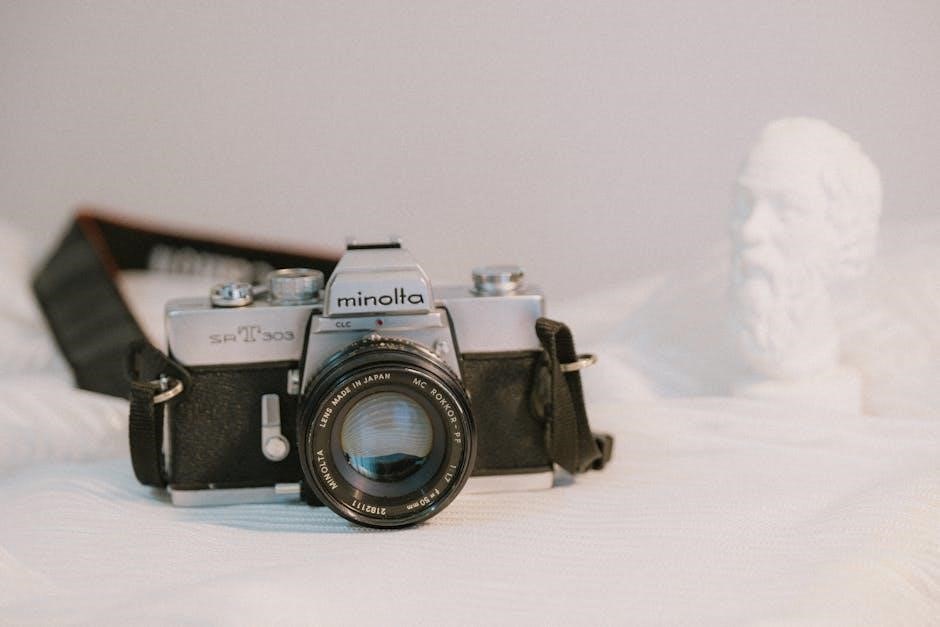
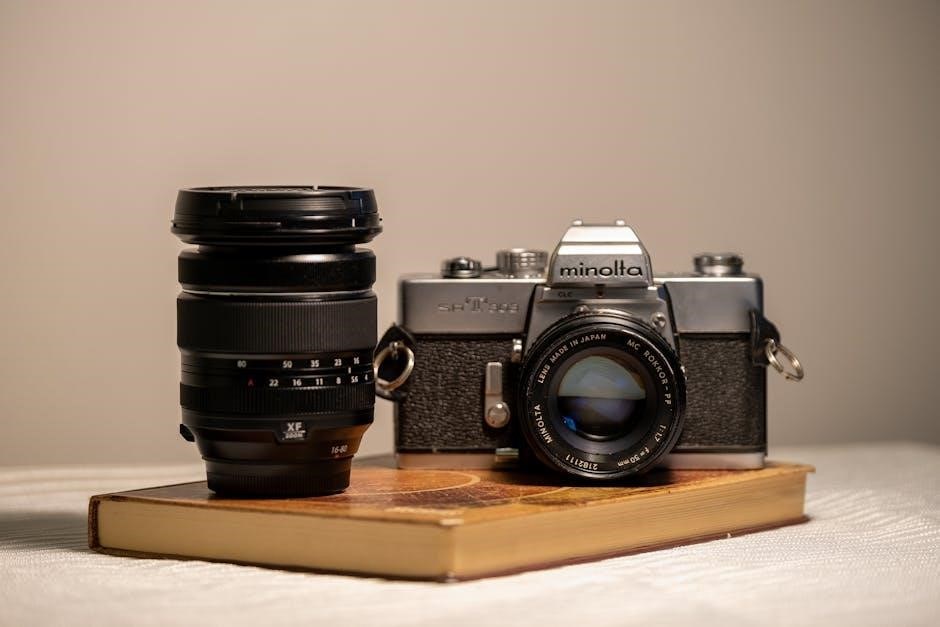
The Minolta XG-M, a 35mm SLR released in 1981, represents a pivotal point in camera technology, blending manual control with automated convenience. This manual serves as a detailed resource for both novice and experienced photographers seeking to understand and utilize the camera’s capabilities. It’s a robust and reliable film camera, known for its user-friendly design and excellent image quality.
This guide will explore every facet of the XG-M, from its historical significance within the Minolta lens system to practical instructions for film loading, exposure settings, and focusing techniques;
History and Context of the XG-M
Launched in 1981, the Minolta XG-M arrived during a significant shift in camera design, bridging the gap between fully manual and electronically assisted SLRs. It followed the successful XG series, offering improvements in ergonomics and features. Minolta aimed to provide a versatile camera appealing to a wide range of photographers.
The XG-M’s introduction coincided with the growing popularity of aperture-priority auto-exposure, a feature it expertly implemented. It’s a testament to Minolta’s commitment to innovation and quality within the 35mm film format.
Key Features and Specifications
The Minolta XG-M boasts a horizontally-traveling cloth focal plane shutter, offering speeds from 2 seconds to 1/1000th of a second, plus Bulb mode. It features aperture-priority auto-exposure and manual operation. Compatible with Minolta MD lenses, it offers a robust lens system.
Key specs include a top film speed of ISO 3200, a built-in TTL metering system, and a self-timer. Its compact size and user-friendly controls made it a popular choice for enthusiasts.
Understanding the Camera Body
The Minolta XG-M features a durable, compact body designed for comfortable handling. Its top plate houses the shutter speed dial, exposure mode selector, and film advance lever. The back cover provides access to the film chamber and features a rewind crank.
Carefully examine the camera’s exterior; understanding the placement of each control is crucial for smooth operation. The baseplate contains the battery compartment and tripod mount.
Controls and Dials Overview
The XG-M’s controls include the shutter speed dial (ranging from 1 to 1/1000 second), the exposure mode selector (Auto/Aperture Priority/Manual), and the film advance lever. The rewind crank retracts the film.
A prominent dial selects the ISO sensitivity. The self-timer button initiates a delayed shutter release. Familiarize yourself with these controls to efficiently adjust settings and capture desired images.
Viewfinder Information
The XG-M’s viewfinder provides crucial shooting data. You’ll see focusing spots to aid in achieving sharp images, and indicators for over/under exposure when using the built-in light meter.
A microprism collar assists with precise focusing, while LEDs signal exposure status. The viewfinder displays the selected shutter speed and confirms camera settings for accurate shooting.
Loading and Unloading Film
Proper film handling is essential for successful photography with the Minolta XG-M. This camera accommodates various 35mm film types, ensuring versatility for different photographic styles.
The loading process involves a straightforward procedure: open the back, insert the film canister, thread the film onto the take-up spool, and advance the film a few times before shooting. Unloading requires retracting the film and carefully removing it.
Film Type Compatibility
The Minolta XG-M is designed for compatibility with standard 35mm film formats, including black and white, color negative, and color slide (transparency) films. ISO speeds ranging from 25 to 3200 are generally supported, allowing for diverse shooting conditions.
While most films will function correctly, it’s advisable to test new or unfamiliar film types to ensure optimal performance with the camera’s metering system and exposure settings;
Film Loading Procedure
To load film, open the camera back using the film release latch. Insert the film canister into the left side, ensuring it seats correctly. Thread the film leader across the take-up spool, and advance the film using the rewind crank until the perforations engage.
Close the camera back and advance the film several frames, checking the rewind knob rotation to confirm proper loading before shooting.
Exposure Settings: Aperture and Shutter Speed
The Minolta XG-M offers both Aperture Priority and Manual exposure modes. In Aperture Priority, you select the f-stop, and the camera automatically sets the shutter speed. For full control, use Manual mode, independently adjusting both aperture and shutter speed.
Understanding this interplay is crucial for achieving correctly exposed photographs, balancing depth of field and motion blur.
Aperture Priority Mode Explained
In Aperture Priority mode on the Minolta XG-M, you choose the aperture (f-stop) to control depth of field – how much of the image is in focus. The camera then automatically selects the appropriate shutter speed for correct exposure.
Lower f-numbers create shallow depth of field, while higher f-numbers yield greater depth of field. Monitor the viewfinder to ensure a usable shutter speed is selected.
Manual Exposure Mode Operation
To operate in Manual mode on your Minolta XG-M, switch the mode dial to ‘M’. You independently control both the aperture and shutter speed. Utilize the built-in light meter as a guide, adjusting settings until the meter indicates correct exposure.
Remember to consider the relationship between aperture, shutter speed, and ISO for achieving desired results. Practice is key to mastering manual exposure!
Focusing Techniques
Achieving sharp images with your Minolta XG-M relies on mastering focusing techniques. The viewfinder provides focusing aids, like a split-image rangefinder, to help pinpoint sharpness. Rotate the focusing ring on the lens until the image appears unified in the center.
Understanding depth of field is crucial; a wider aperture creates shallow depth, while a smaller aperture increases it. Practice these methods for consistently focused photographs.
Using the Viewfinder Focusing Aids
The Minolta XG-M’s viewfinder incorporates a split-image rangefinder, a central patch that divides a portion of the scene. When the image is in focus, the two halves of the split image will align perfectly, indicating sharp focus.
Microprism collars surround the split image, assisting with fine-tuning. Utilize these aids for precise focusing, especially with manual lenses, ensuring consistently sharp results.
Depth of Field Control
Depth of field, the area in acceptable focus, is crucial for creative control. The Minolta XG-M allows adjustment via the aperture ring on the lens. Smaller apertures (higher f-numbers) increase depth of field, ideal for landscapes.
Larger apertures (lower f-numbers) create shallow depth of field, isolating subjects. Understanding this relationship allows photographers to emphasize specific elements within the frame.
Using the Built-in Light Meter
The Minolta XG-M features a center-weighted metering system, providing accurate exposure readings in various conditions. The viewfinder displays a needle indicating over or underexposure. Adjust aperture and shutter speed until the needle centers for correct exposure.
Understanding metering modes is key; the camera prioritizes central areas. Consider scene brightness and subject contrast for optimal results, especially in challenging lighting scenarios.
Metering Modes and Selection
The Minolta XG-M primarily utilizes a center-weighted average metering mode. This means the camera gives more weight to the light measured in the center of the frame. There isn’t a selectable mode switch; it operates consistently.
For backlit scenes or strong contrasts, utilize exposure compensation. Understanding this single mode and employing compensation ensures accurate exposures across diverse photographic situations.
Understanding Metering Readings
The Minolta XG-M’s viewfinder displays a needle indicating exposure. “0” signifies correct exposure. Negative values (-1, -2) indicate underexposure, requiring a wider aperture or slower shutter speed. Positive values (+1, +2) suggest overexposure, needing the opposite adjustments.
Pay attention to the needle’s movement; it’s your guide. Practice correlating readings with scene brightness to develop intuitive exposure judgment for consistently well-exposed photographs.
Advanced Features and Functions
The Minolta XG-M offers features beyond basic operation. The self-timer, activated by a lever, allows for delayed shots – perfect for group photos or self-portraits. Its multiple exposure capability, achieved by holding the film advance lever, enables creative layering of images.
Experiment with these functions to expand your photographic possibilities and achieve unique artistic effects with this versatile camera.
Self-Timer Operation
To utilize the XG-M’s self-timer, locate the lever on the left side of the camera body. Move the lever to the ‘S’ position. The shutter will release approximately 10 seconds after you press the shutter button. Ensure you are positioned within the frame before activating.
This feature is ideal for self-portraits or including yourself in group photographs, providing a convenient delay for preparation.
Multiple Exposure Capability
The Minolta XG-M allows for creating multiple exposures on a single frame of film. After taking a picture, press the film advance lever partially and release it. This keeps the shutter open for rewinding.
Then, press the shutter button again to expose another image on the same frame. Repeat as desired, remembering to fully advance the film afterward.
Troubleshooting Common Issues
Exposure problems often stem from incorrect metering or battery issues. Ensure proper aperture and shutter speed settings, and verify battery strength. Film advance issues can arise from jammed film or a malfunctioning advance mechanism.
Carefully check the film path and rewind knob. If problems persist, professional servicing may be required to restore optimal camera function and prevent further damage.
Exposure Problems
Incorrect exposure frequently results from inaccurate light metering or improper camera settings. Double-check the aperture and shutter speed against the built-in meter’s reading. A weak or failing battery can also cause metering inaccuracies, leading to under or overexposed images.
Ensure the lens is clean and free of obstructions. If issues continue, consider a professional camera check-up to diagnose potential mechanical faults.
Film Advance Issues
Difficulty advancing film can stem from several causes. First, verify the film is correctly loaded and the leader is properly engaged with the take-up spool. A jammed film requires careful removal – avoid forcing it. Check for obstructions within the film chamber.
A worn or damaged film advance mechanism may necessitate professional repair. Ensure the rewind knob turns smoothly, indicating proper film transport.
Lens Compatibility and Usage
The Minolta XG-M utilizes the Minolta MD lens system, offering a wide range of compatible lenses. Beyond MD lenses, virtually all interchangeable Minolta lenses are usable. Adapting other lens mounts is possible, though may require an adapter and potentially limit functionality.
When using adapted lenses, manual operation of the aperture is often necessary, especially when utilizing the XG-M’s manual shutter speeds.
Minolta MD Lens System
The Minolta MD lens system, designed for Minolta cameras like the XG-M, offers a robust and versatile selection of lenses. These lenses feature a physical coupling that enables open-aperture metering, crucial for accurate exposure. The MD mount provides a secure and reliable connection.
Numerous MD lenses are available, covering a broad spectrum of focal lengths and apertures, catering to diverse photographic needs.
Adapting Other Lens Mounts
While the Minolta XG-M excels with MD lenses, adapters allow using lenses from other mounts. Adapting requires careful consideration, as some may compromise functionality like aperture control or metering. Adapters exist for popular mounts like Canon FD or Pentax K.

Ensure the adapter is compatible and of good quality to maintain optical performance and a secure fit. Research potential limitations before investing in adapters.
Maintenance and Care
Proper Minolta XG-M maintenance ensures longevity. Regularly clean the camera body with a soft, dry cloth, avoiding harsh chemicals. Lens care involves using lens paper and cleaning solution for optics, storing lenses capped when not in use.
Battery information is crucial; remove batteries during prolonged storage to prevent corrosion. Periodic servicing by a qualified technician is recommended for optimal performance.
Cleaning the Camera Body
To maintain your Minolta XG-M’s appearance, gently wipe the exterior with a soft, lint-free cloth. Avoid abrasive cleaners or solvents, as these can damage the finish. Pay attention to the film compartment and viewfinder eyepiece, removing dust carefully.
For stubborn grime, lightly dampen the cloth – never apply liquid directly to the camera. Regular cleaning prevents buildup and ensures smooth operation.
Lens Care and Storage
Minolta MD lenses require careful handling. Use a blower to remove dust before wiping with lens tissue and appropriate cleaning fluid. Store lenses in a cool, dry place, ideally in a dedicated lens case to protect the glass from scratches and dust accumulation.
Avoid prolonged exposure to direct sunlight or extreme temperatures, which can affect lens coatings. Proper storage extends lens life and maintains image quality.
Battery Information
The Minolta XG-M utilizes small, commonly available button-cell batteries to power its light meter. Ensure correct battery polarity during installation. Regularly check battery condition, as a weak battery impacts metering accuracy.
Remove the battery when storing the camera for extended periods to prevent potential corrosion. Dispose of used batteries responsibly, following local regulations for electronic waste.
Resources and Further Information
Numerous online manuals and vibrant communities exist for Minolta XG-M users, offering support and shared knowledge. Websites dedicated to classic cameras often host downloadable manuals and forums for discussion.
For repairs or professional servicing, consider contacting specialized camera repair shops. Konica Minolta’s official support may offer limited assistance for older models, but resources are available online.
Online Manuals and Communities
A wealth of online resources, including digital copies of the XG-M user manual, are readily accessible for reference and historical purposes. Butkus’s website provides a valuable archive of camera manuals.
Active online communities and forums dedicated to Minolta cameras offer a platform for users to exchange tips, troubleshoot issues, and share their photographic experiences with the XG-M.
Repair and Service Options
For Minolta XG-M repairs, consider specialized camera repair shops experienced with vintage film cameras. Due to the camera’s age, finding official Minolta service centers may be challenging.
Online forums and communities often list recommended repair technicians. Before sending your camera for service, obtain quotes and inquire about the technician’s experience with the XG-M model to ensure quality repairs.